Wait. What? Say huh?
Okay. Whatever. If you’re reading this, I have to assume you read the title of the post and so know why you’re here – so let’s dig in.
I recently purchased a new Apple MacBook Pro for things and stuff. Because I like to waste more time doing things that feel like work rather than doing rewarding actual work, I figured I should figure out how to most quickly violate the laws of nature – and what faster path to condemnation than to install Windows 11 on Apple silicone (specifically, the M1 Pro).
Note: This post is going to discuss how to get the ARM build of Windows 11 running on Apple silicone – a point worth noting, as there may be some limitations.
Up first, we need to install UTM – https://mac.getutm.app/
I won’t get into the specifics of installing UTM – if you’re here, on my tech blog, reading a super nerdy post about running an OS on a platform that god herself has forbidden, I assume you know how to drag the little app icon thingy into the application folders icon thingy… Cool – installed.
Up next, you’re going to need a Windows 11 image to run, right? Here, we’re going to use the Windows Insider Preview (which requires an Insiders account – so get to registering in the likely event that your Apple Fangirl/Fanboy butt doesn’t already have one) – https://www.microsoft.com/en-us/software-download/windowsinsiderpreviewARM64
Now go get a tasty beverage while you wait for that Windows 11 download to complete – I averaged 2MBs on my ~300MBs connection…
Downloaded? Cool-cool-cool. Now we need to get it running…
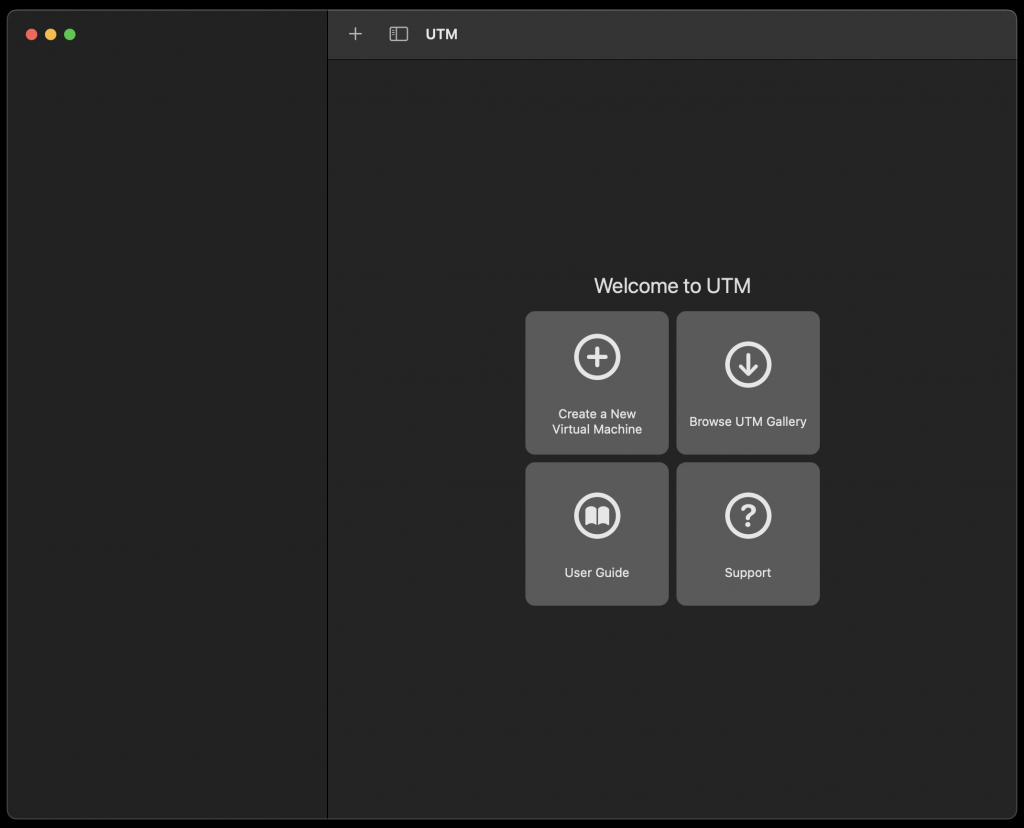
Let’s open up UTM.
With UTM open, you’re going to want to click on ‘Create a New Virtual Machine’:
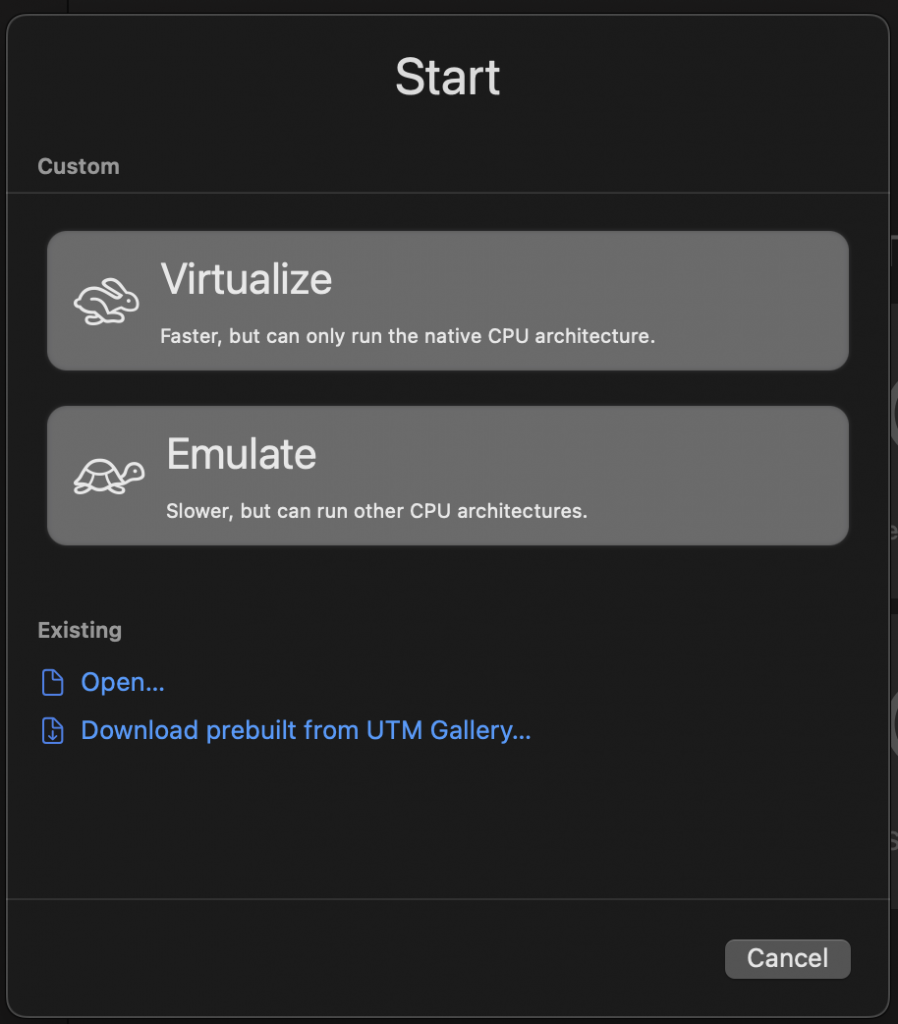
And then ‘Virtualize’:
And then ‘Linux’:
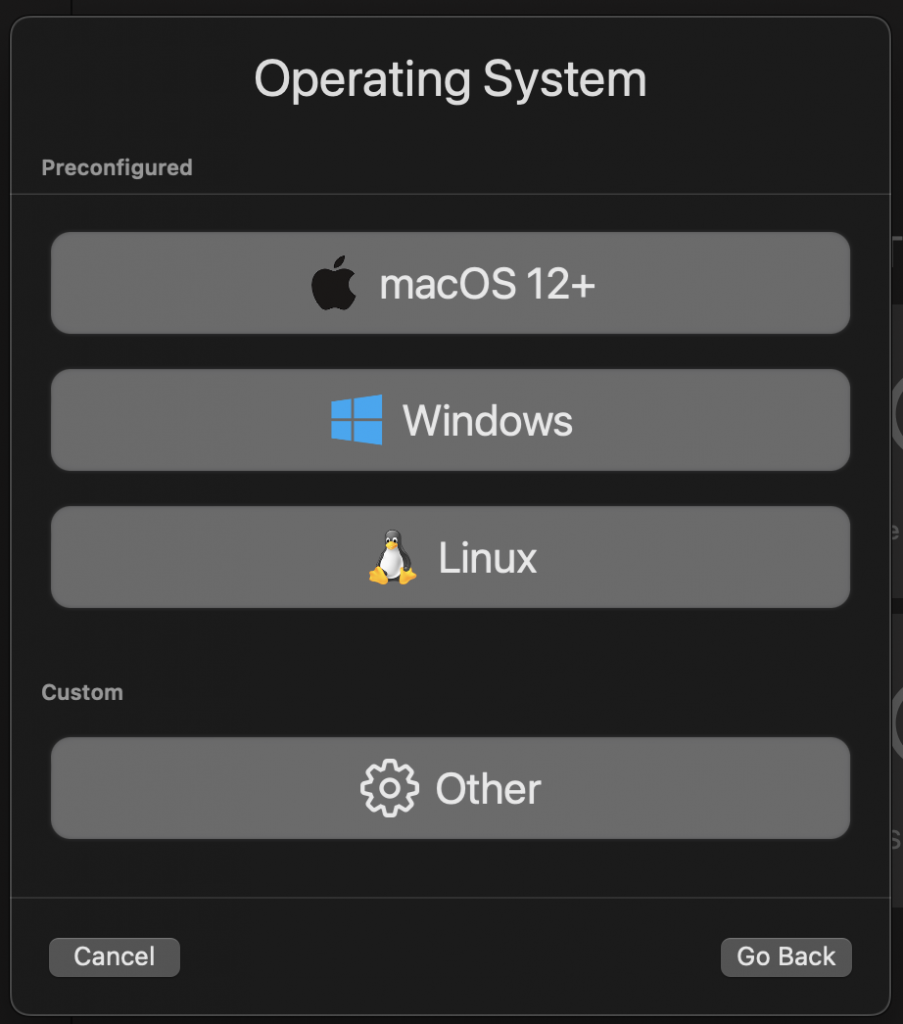
Wait… No.. Not ‘Linux’ – ‘Windows’, dummy… Gah….
Ensure you click ‘Import VHDX Image’ and then click ‘Browse…’ and browse to the Windows 11 VHDX that took one million years to download the last time you tried to complete this tutorial before ultimately walking away and forgetting that you were trying to get Windows running on your MBP M1/M2:
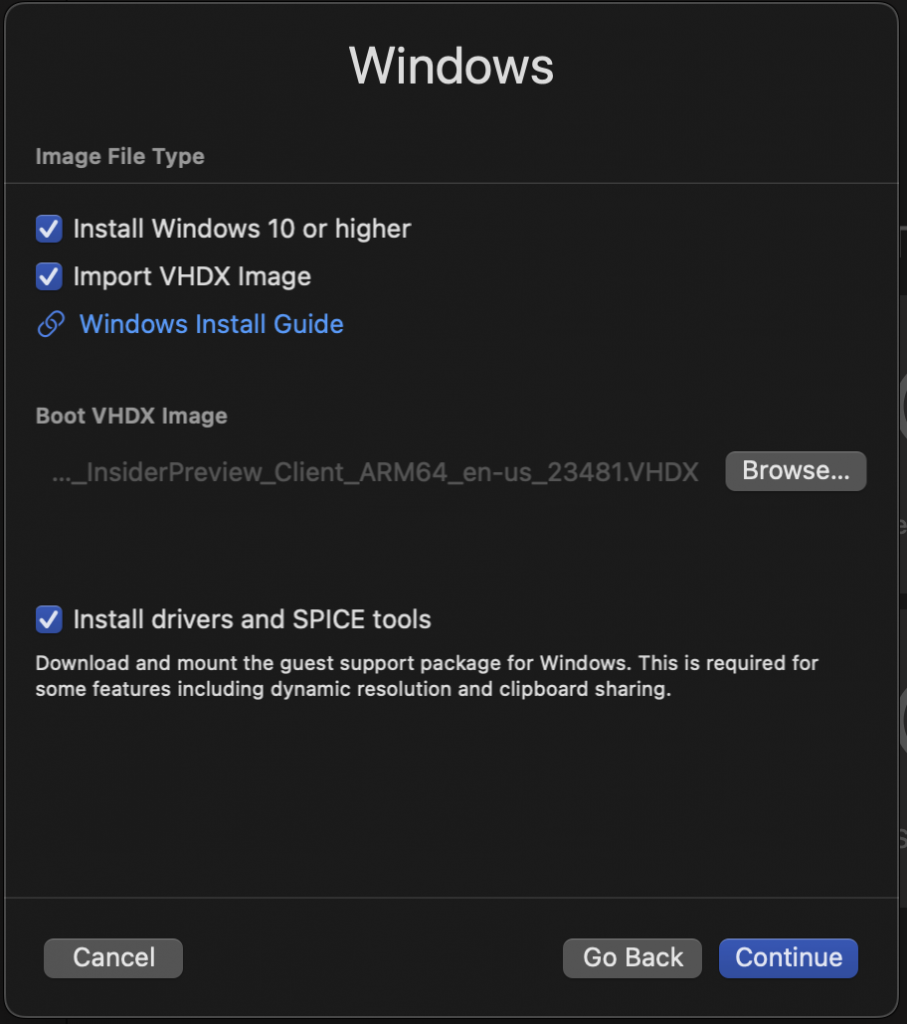
Special Note: Previously it would seem you needed to manually download the ‘SPICE’, similarly to VirtualBox Extensions, but this now seems to be handled automagically (assuming you’re not a dumb-dumb and accidentally deselect ‘Install drivers and SPICE tools’ like I may or may not have the first time I did this).
Click ‘Continue’ to proceed to configuring your memory and CPU allocation – I’m opting for defaults because I want Windows 11 to run like garbage and to be painfully slow:

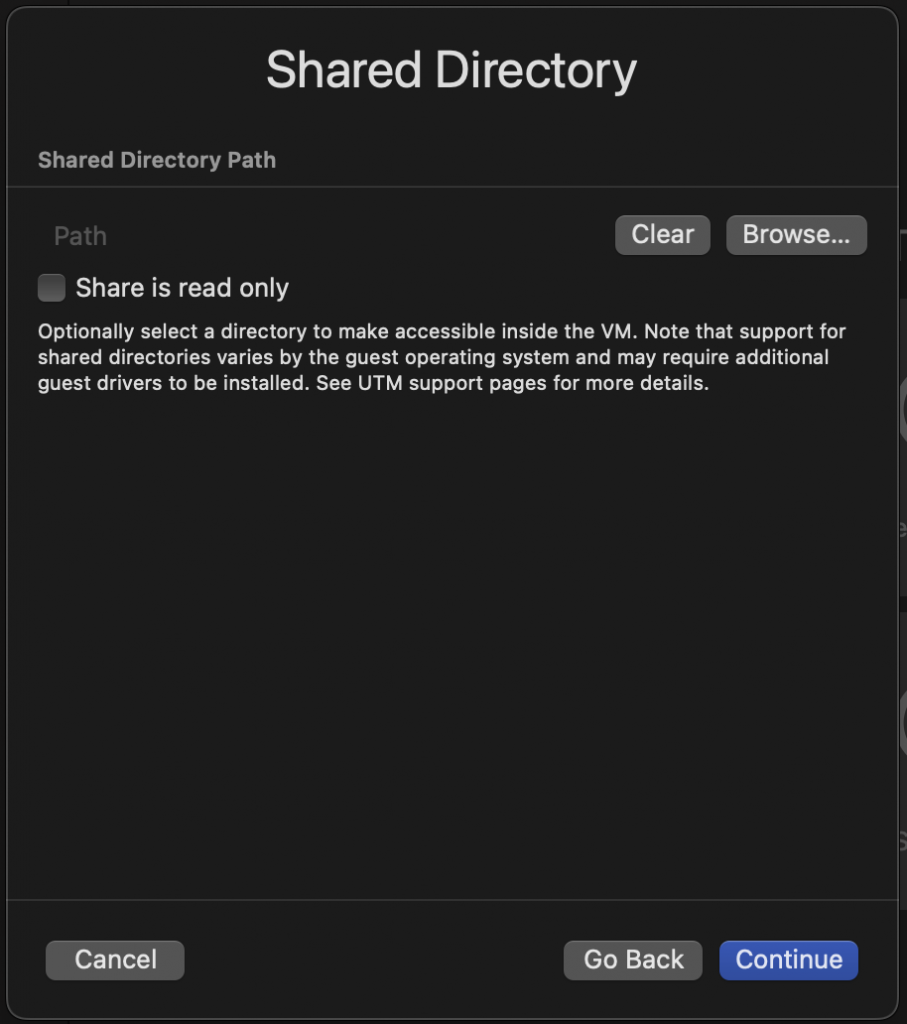
Then optionally configure a share between your host (MacOS) and guest (Windows 11). I recommend this as how else are you going to easily screw up your line endings while working in Git repos?:
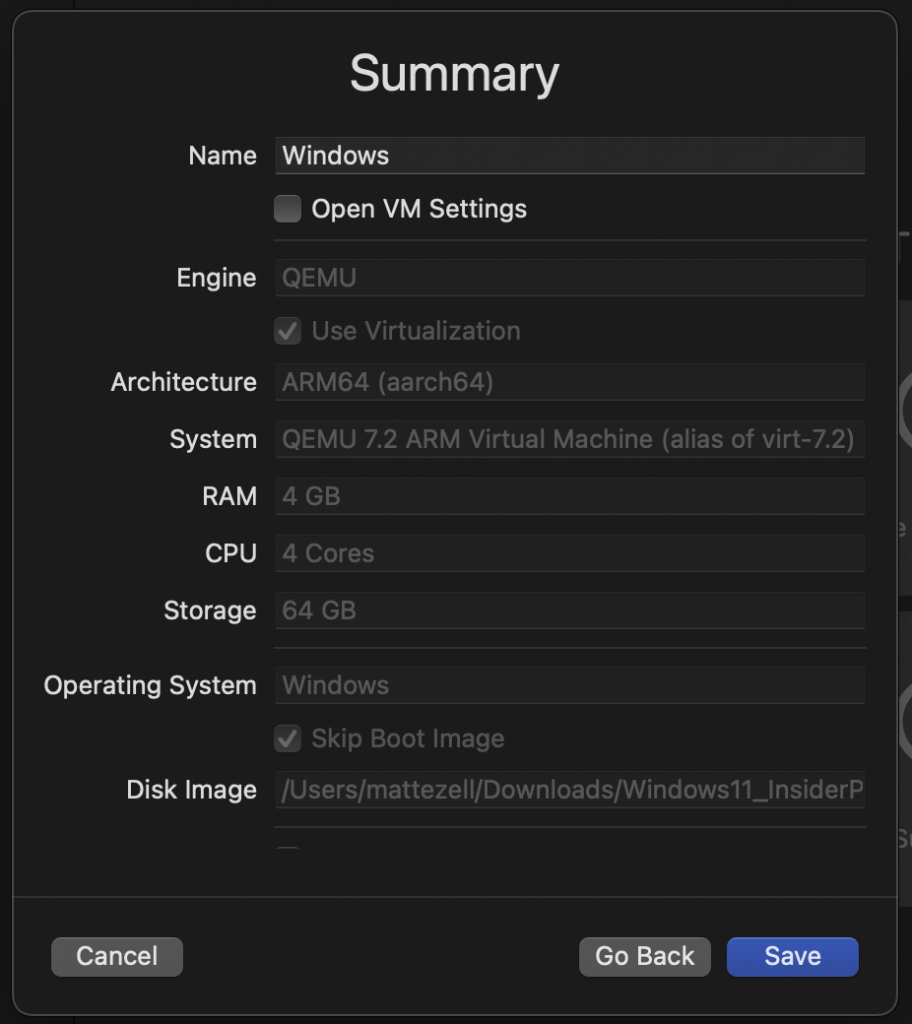
After clicking ‘Continue’, you should be presented with this totes helpful Summary screen – just click ‘Save’:
Watch the super cool spinny:

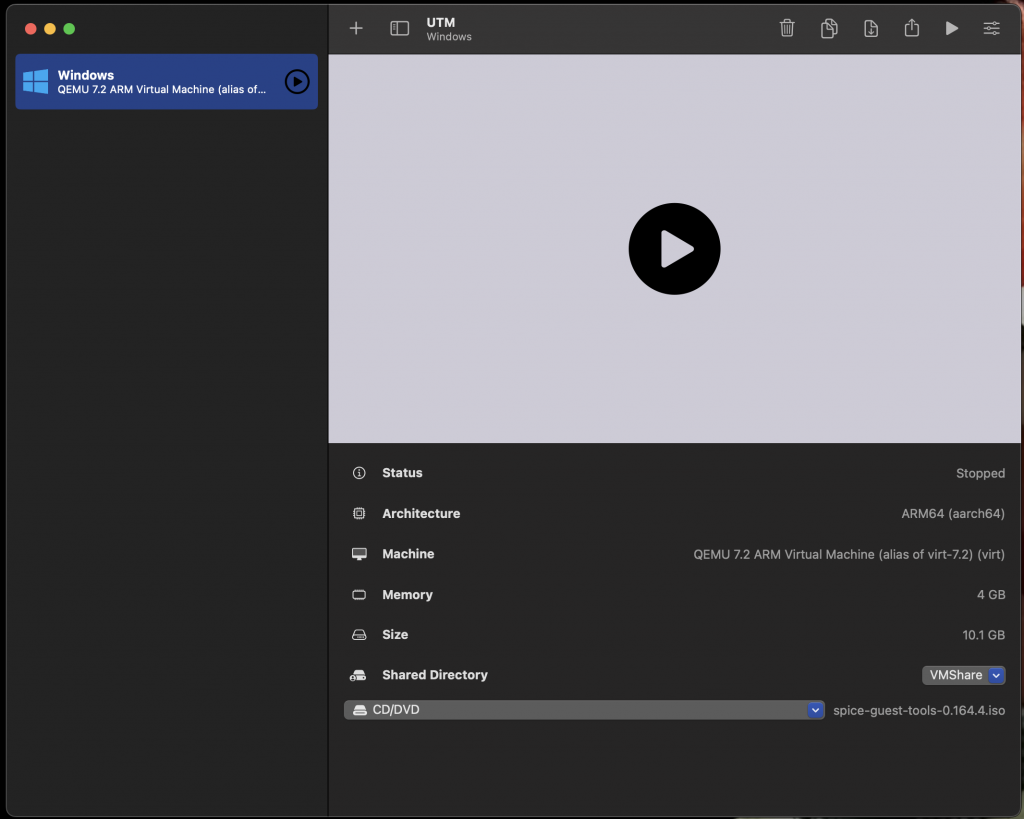
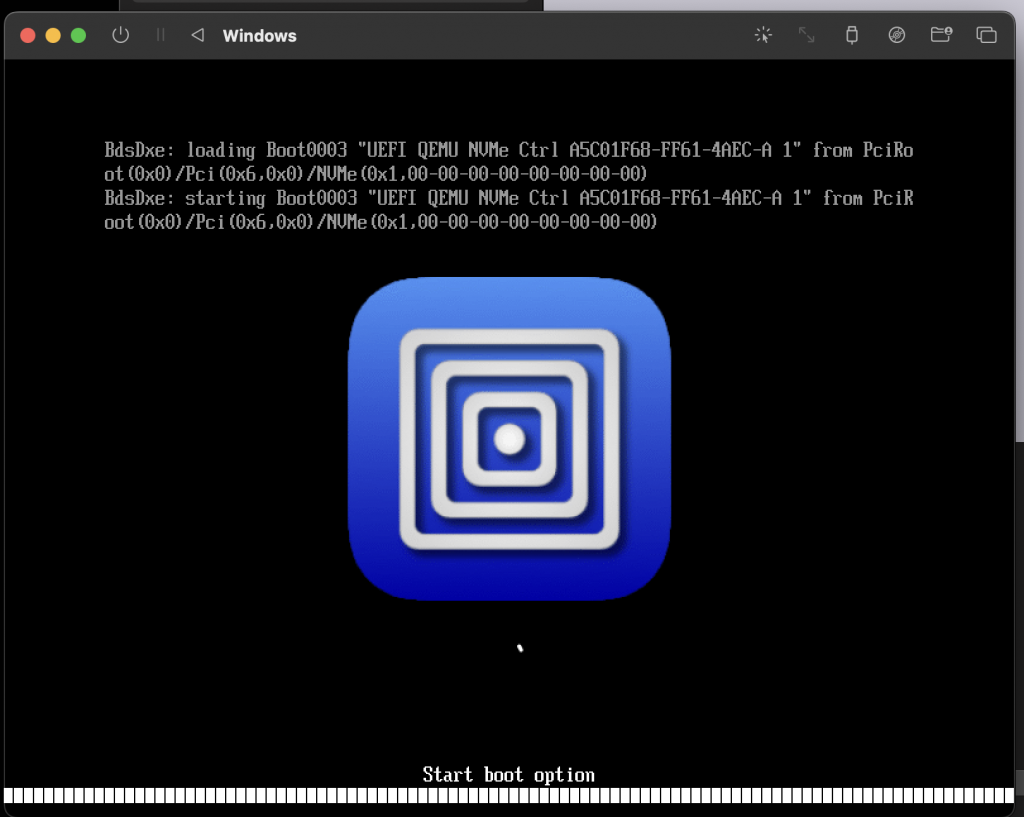
Now we’re ready to start the setup/install process – click that little ‘Play Button’ in the middle of the preview or up at the top at the toolbar (or just figure it out – maybe recite a little spell or say a little prayer, I dunno…):
Things seem to be happening:
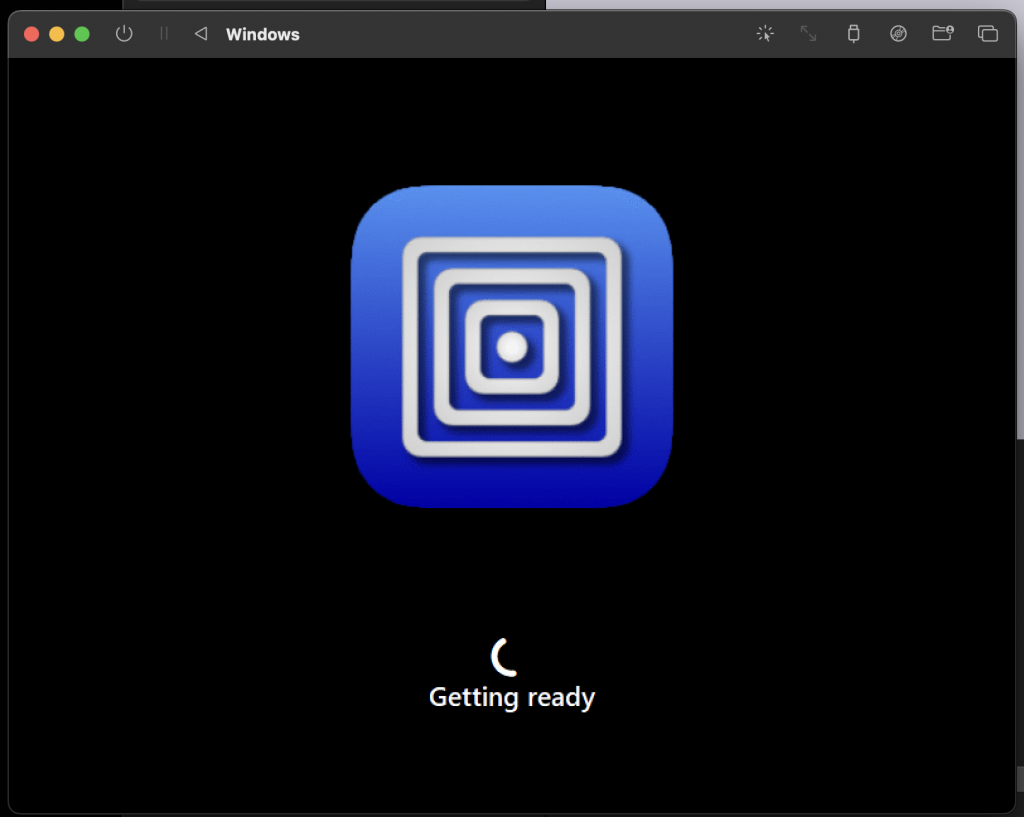
“ARE YOU READY?!?!” -Jonathan Davis:
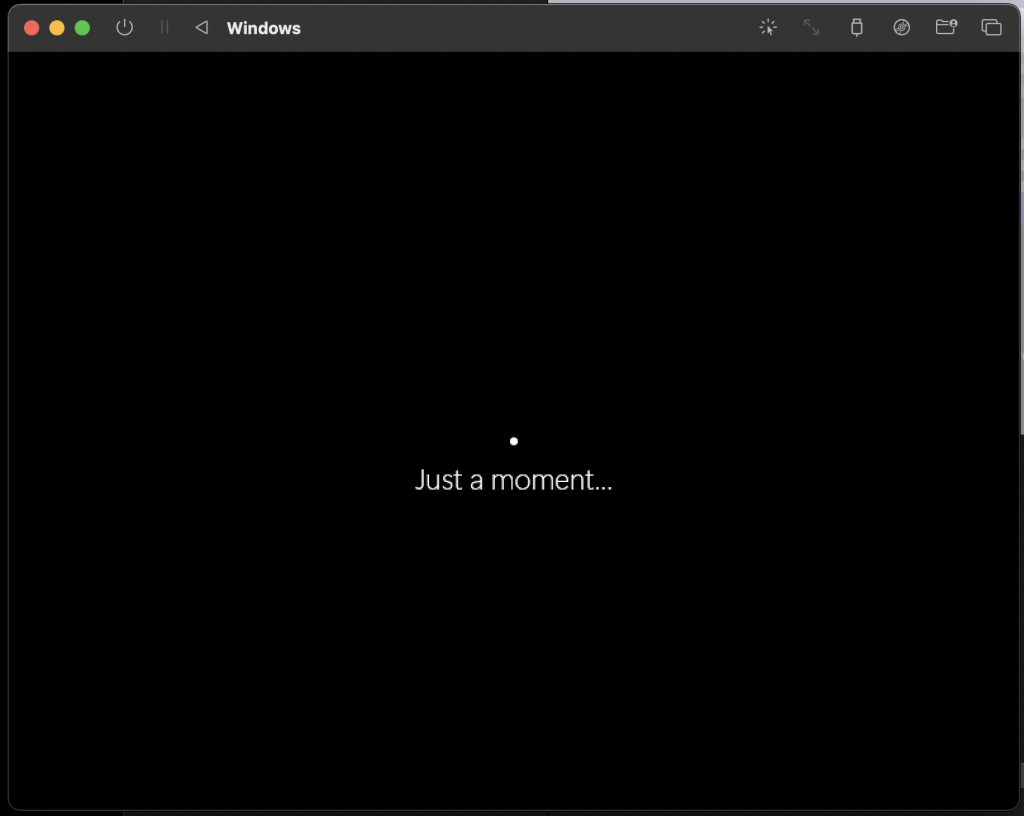
Ah.. A ‘moment’ – such a fun imaginary increment of time…but then again, isn’t all time imaginary? But for real – maybe go do something else…this is going to take a while…:
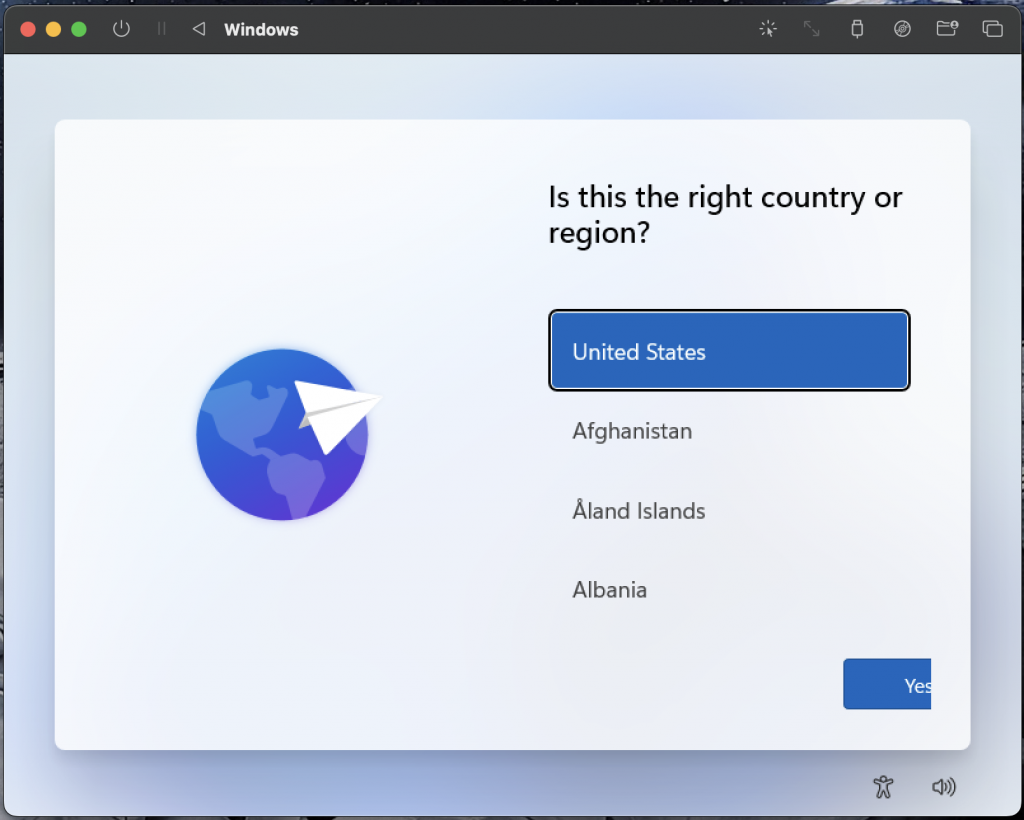
Some PLURAL moments later, you should be dumped out into the Windows setup – just proceed until you can’t anymore (e.g. see next step for network workaround):
After clicking Continue a couple times and Skip, you’ll likely find yourself stuck on the following screen:
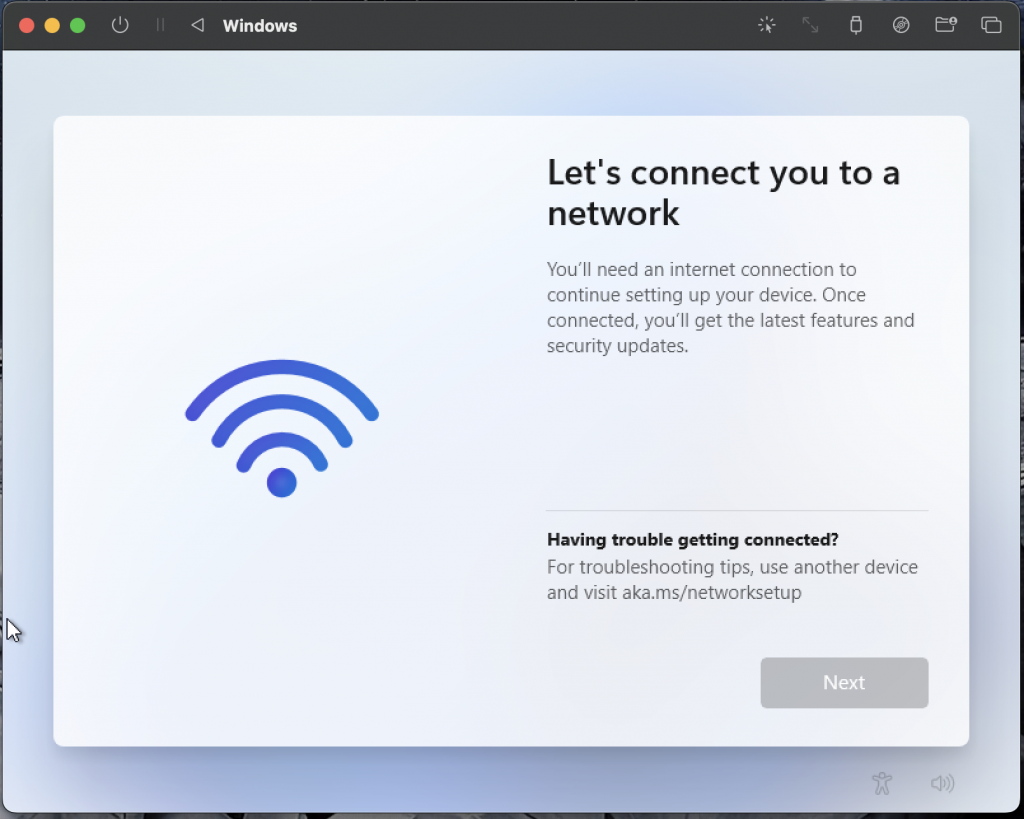
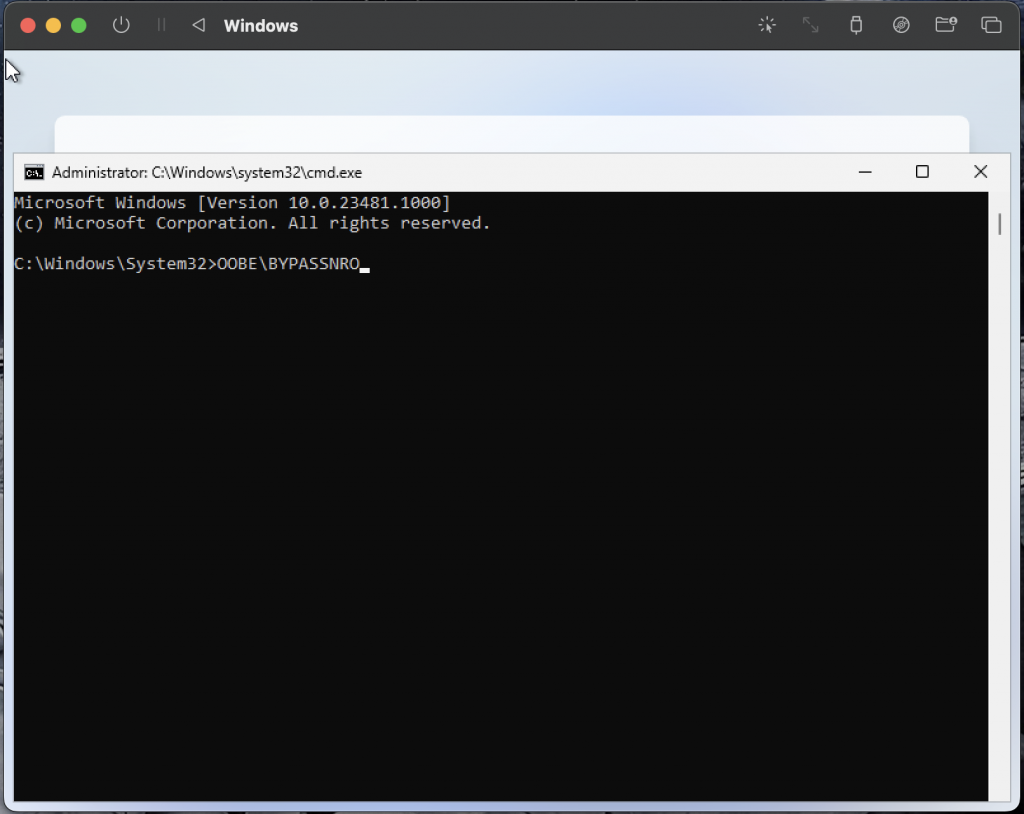
Now what? Let’s just move on… Press ‘Shift+F10’ (so fn+shift+F10) to open a command prompt and then type ”OOBE\BYPASSNRO” and press [ENTER] (okay…okay… ‘return’):
The Windows 11 image should restart and the setup process should restart – once you progress to the Network screen, you should now see a new option – ‘I don’t have internet’ (anyone notice how poorly styled that is? It’s like MS doesn’t like this option or something…):
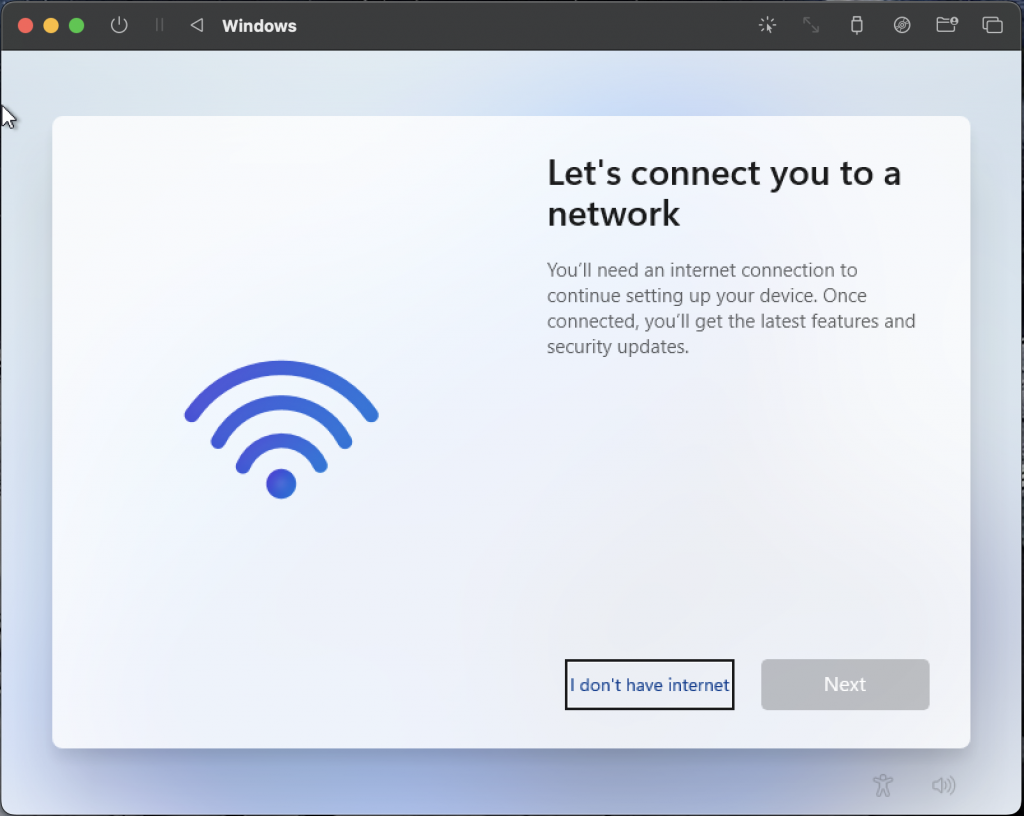
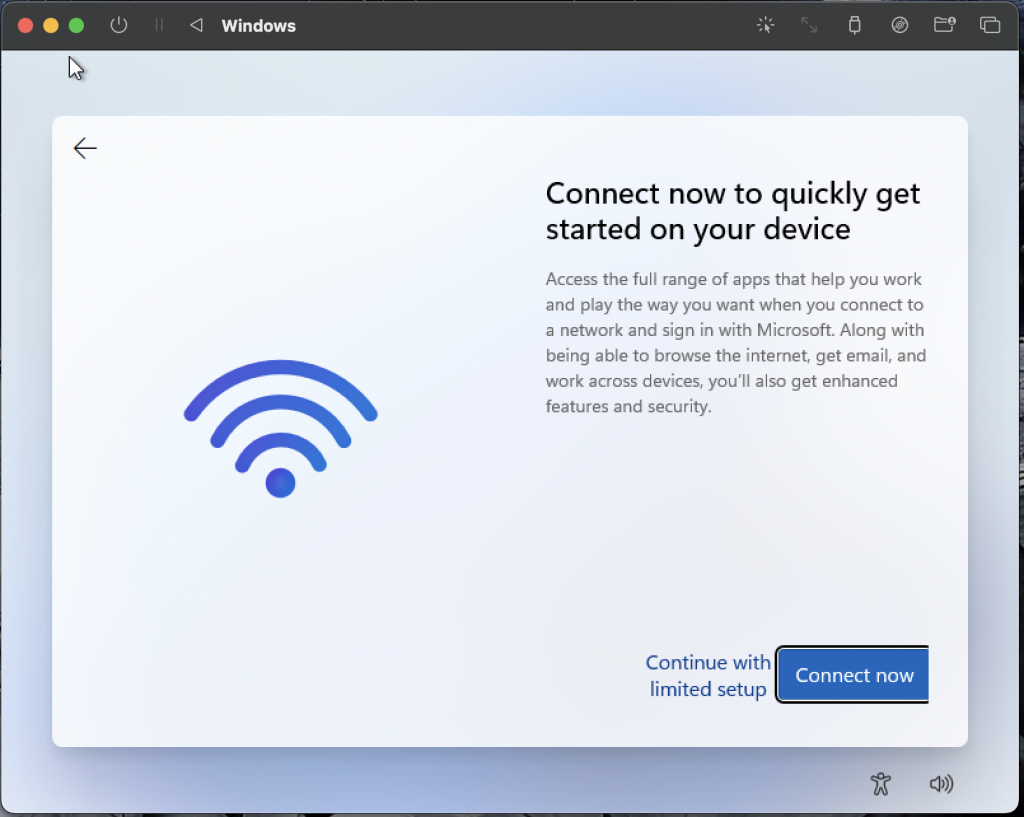
Click ‘I don’t have internet’ – and then click ‘Continue with limited setup’ on the following screen:
Accept the License Agreement and then setup your account on the following screens:
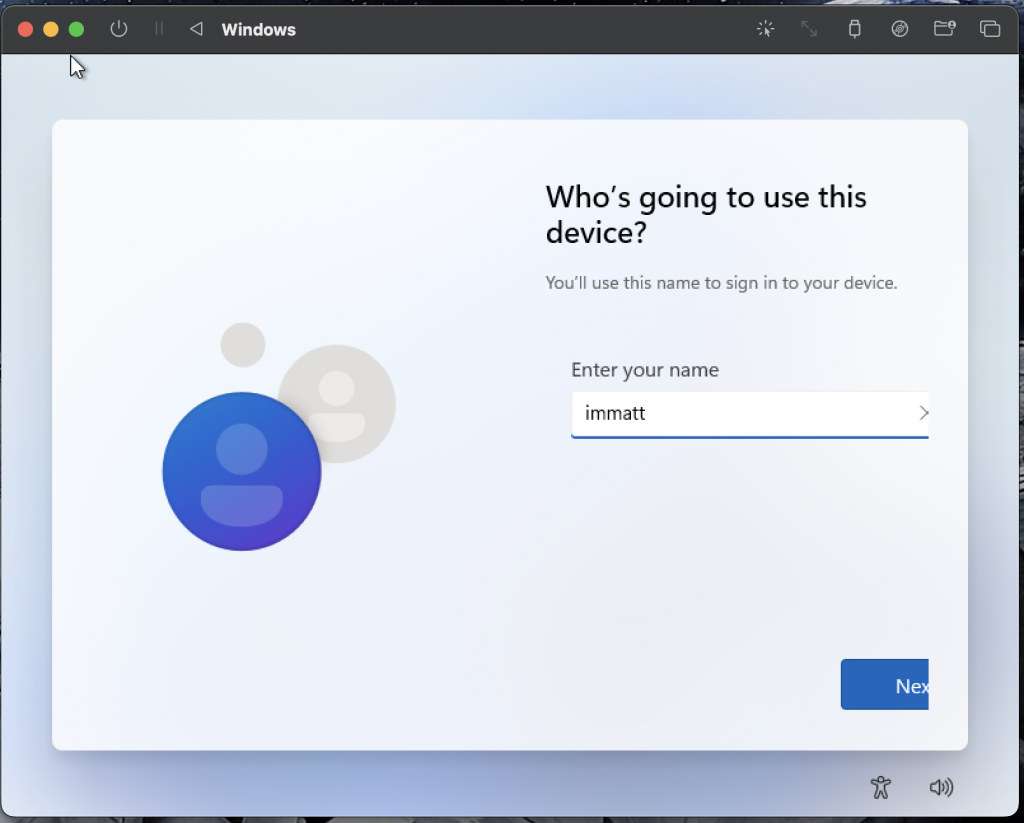
There are a handful of screens not captured in screenshots here – BECAUSE I’M LAZY!!!! Just ‘Next’, ‘Next’, ‘Next’ until you’re done – I opted out of all optional settings (which I simply mention in case you do something different and then have an error)…
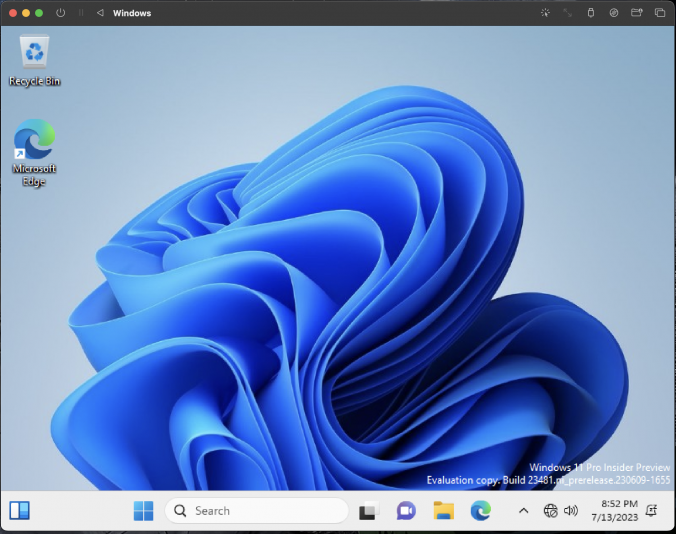
After a few moments and a few friendly progress screens, the Windows setup should be complete – and you then should find yourself looking at your shiny new Windows 11 desktop!:
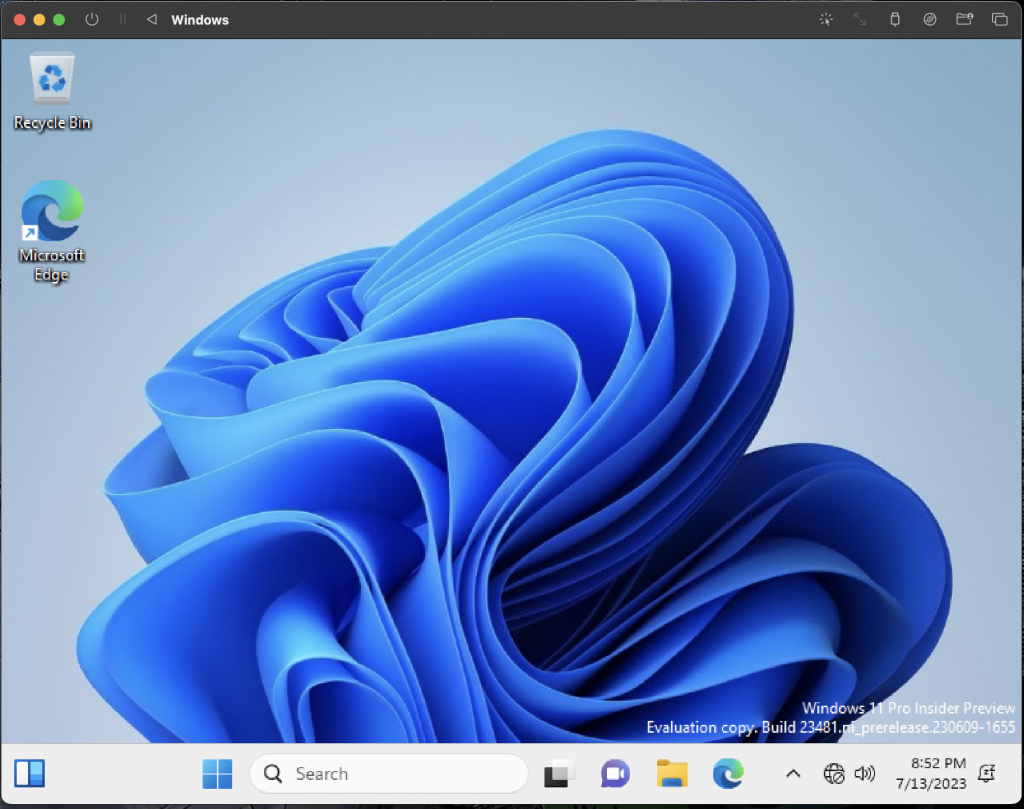
But we’re not quite done yet – if you try to do much, you’re likely to see what I mean:
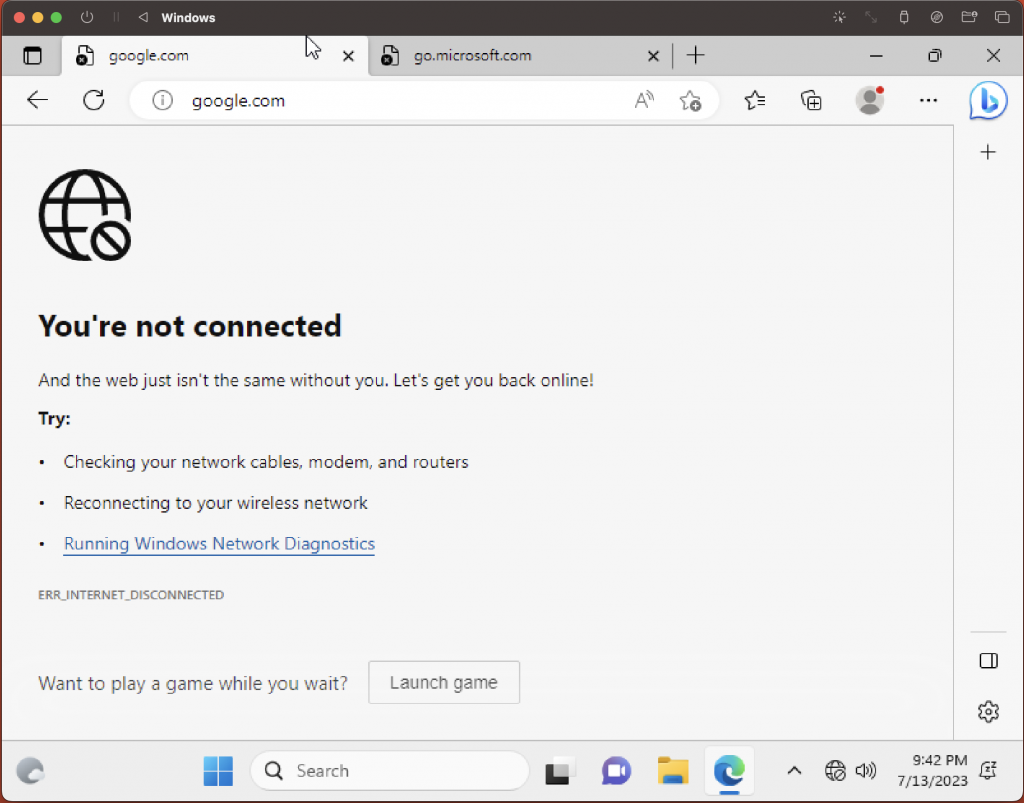
We still need to get network ready…
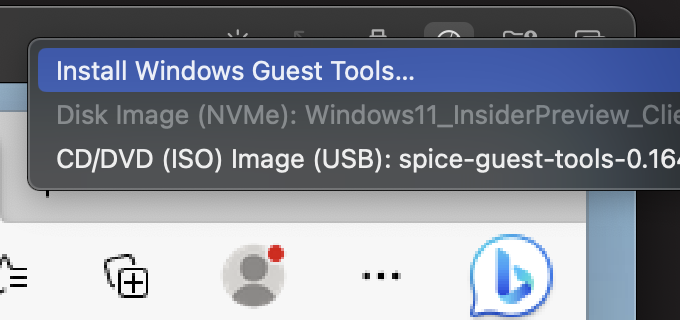
First, you’ll want to click on the little CD/Disk icon to access the ‘Drive image options’:
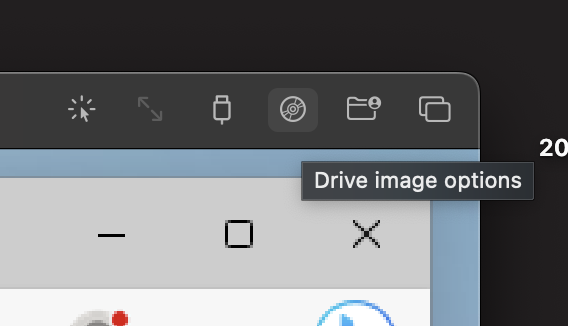
Then select ‘Install Windows Guest Tools…’:
You may get a notification that the image is already mounted – in which case, sorry for wasting your time, you can carry on…
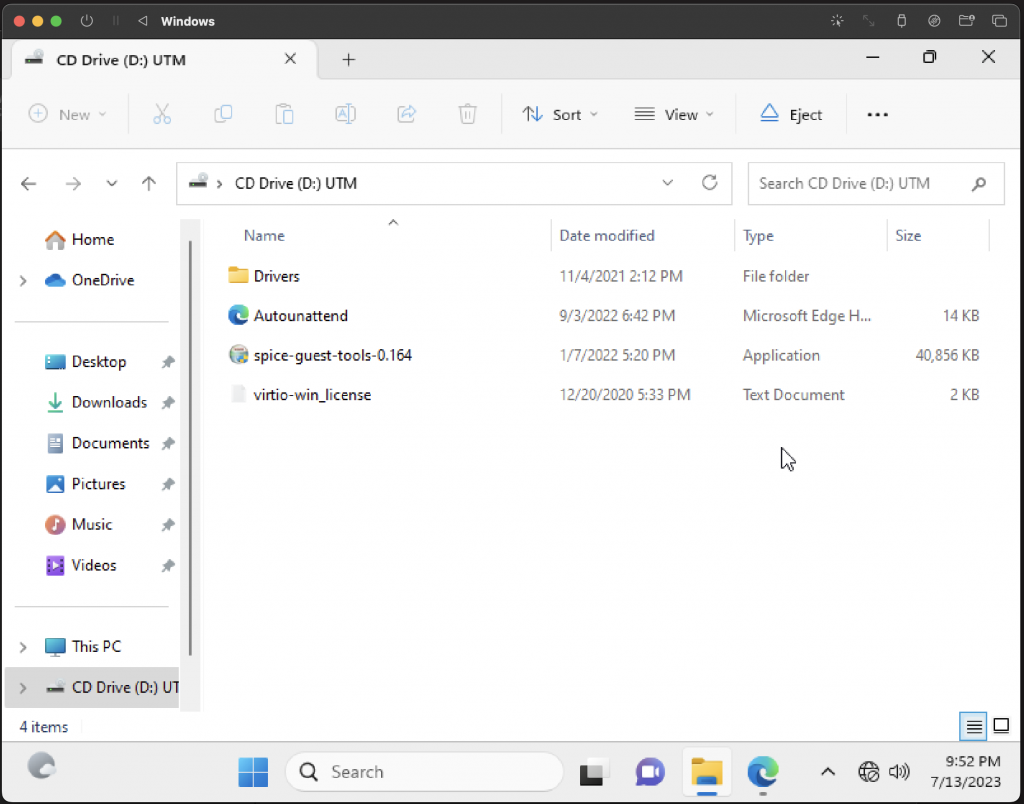
Next you will want to access the mounted disk, which is mounted as a virtual CD/DVD drive: – run ‘spice-guest-tools-…’ by double clicking it:
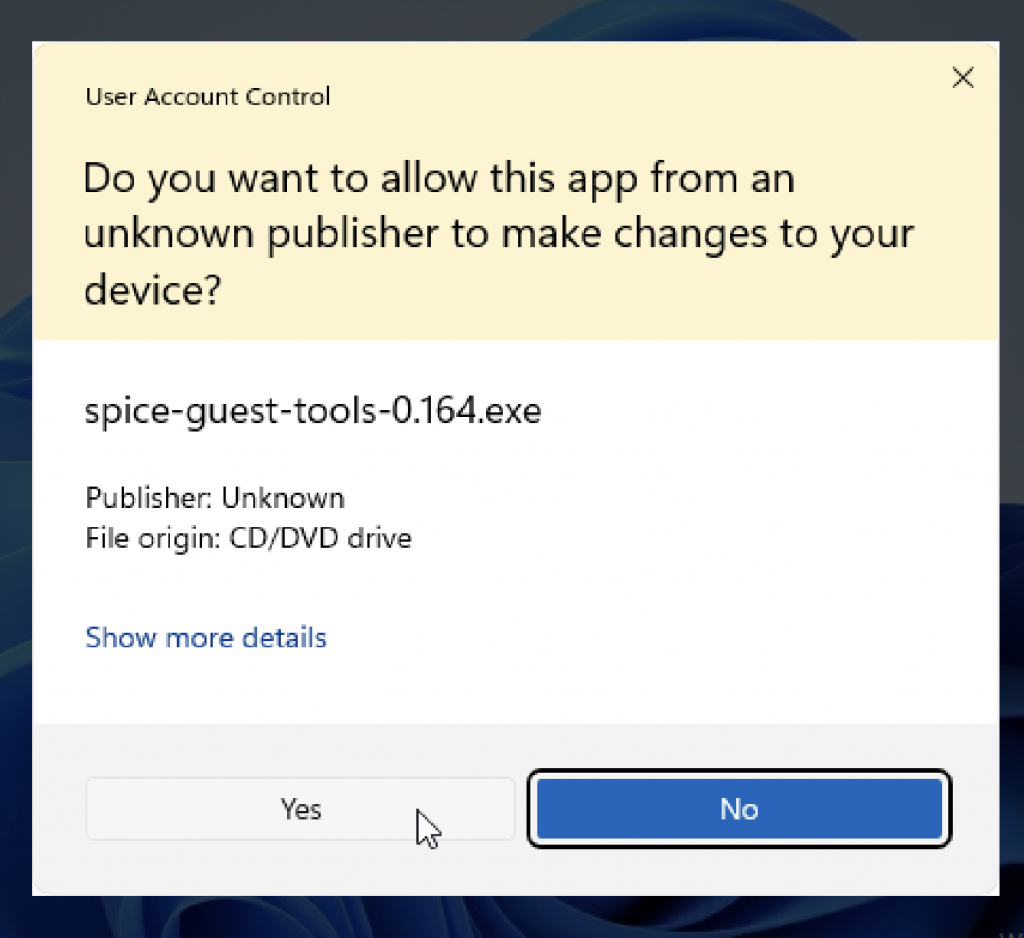
Yes:
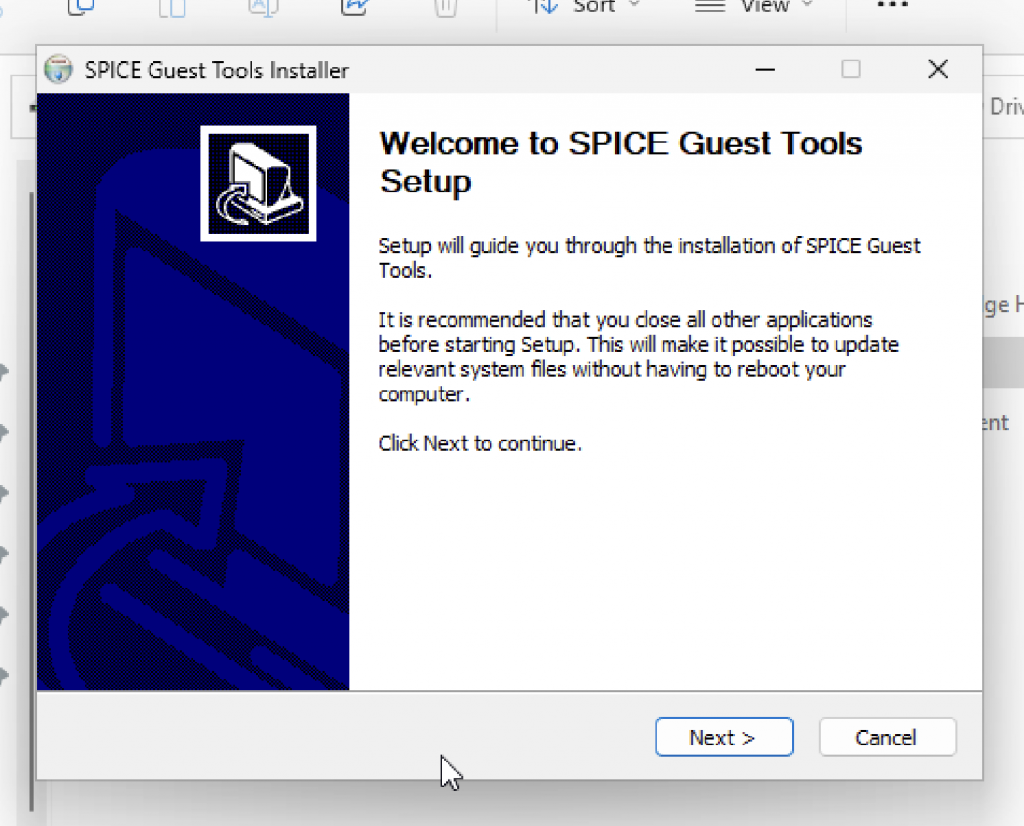
Next and then ‘I agree’ should get you installing:
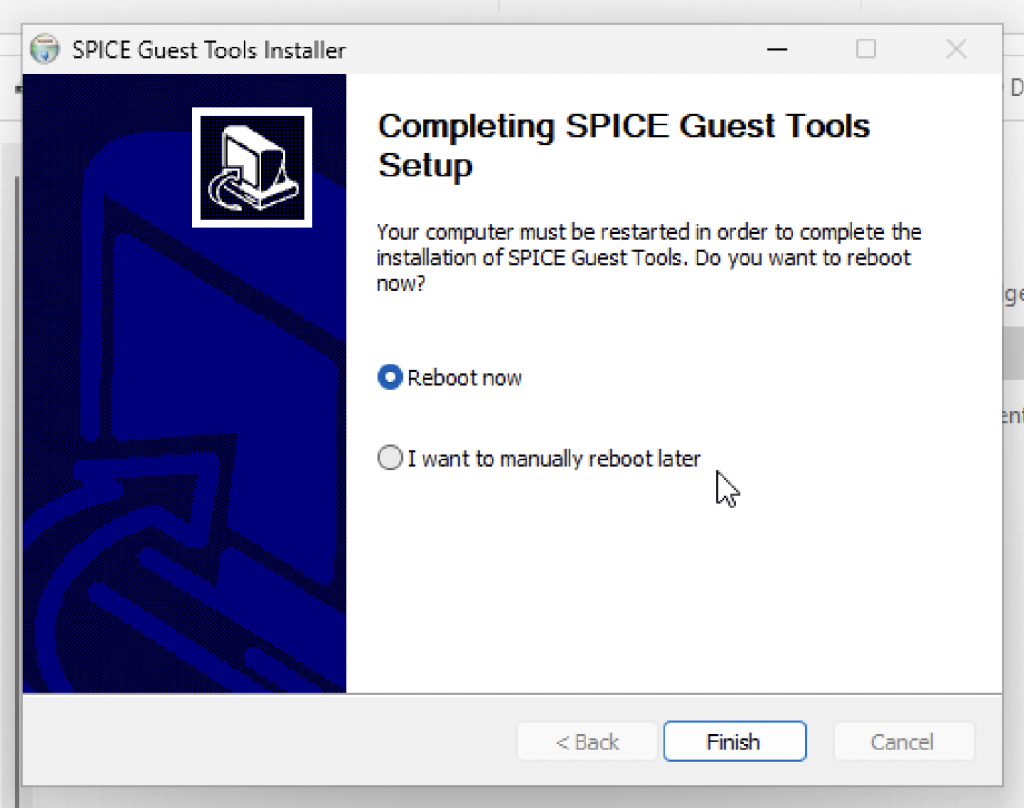
Reboot now:
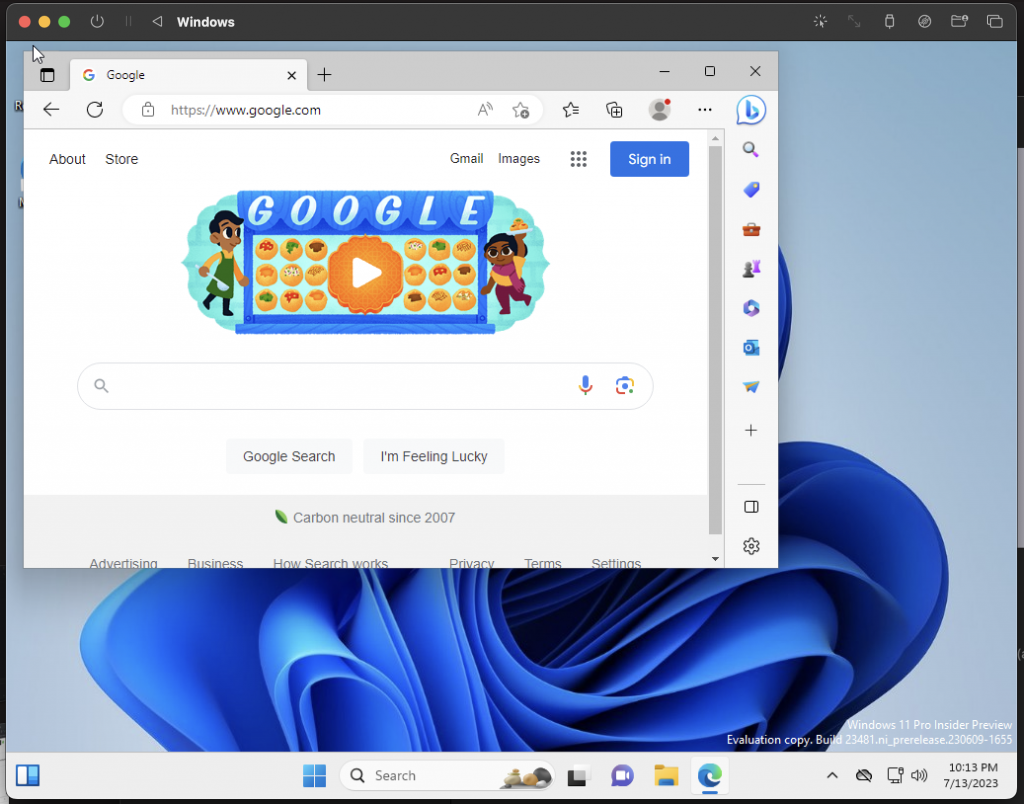
After the reboot completes, you should find your Windows 11 install a bit more useful:
Up next in our series, we’ll look at setting up WSL2 under Windows 11 under MacOS 🤣
I hope that you’ve found this of value in angering your respective gods! Happy Dev’ing!
-Matt