It’s 2024.
You’re looking back at 2023 as a blur.
How many different Internet providers did you go through?
It could have been 3 – it could have been 300.
It was 3.
3 different Internet service providers, all with their own unique and special modem/router combo of varying feature sets – some good, some okay, and some terrible.
We began 2023 with Spectrum, our ISP since moving to this house in 2015. While Spectrum provided pretty decent service, outages and signal issues posed more issues then one would generally prefer, and their speed offerings weren’t quite up to snuff in our area.
Next came Verizon 5G Home Internet. As soon as this service became available in my area, I signed up. All in all, Verizon’s 5G Home Internet was pretty solid. The router was feature rich and not having to have a signal/supply line is pretty cool – just plug in the box near a window that has good 5G access and you’re set to enjoy a pretty consistent 300Mbs/60Mbs connection.
Enter AT&T Fiber. As good as Verizon’s service was for me, fiber is king – and so when I saw the install trucks running lines in my neighborhood, I just knew I had to get on the waiting list. So far AT&T Fiber has been great. It’s notably faster than my already snappy Verizon 5G. Since install, I’ve not had a single outage – despite significant weather events occurring, which would normally knock me offline at least temporarily. One things that’s not great though is the router functionality. And don’t get me wrong, it’s not terrible – it’s just missing some things I’ve become accustomed to when using Verizon’s modem/router, such as an internal DNS Server.
What’s this post about again? Oh, yeah. ISPs…
Wait. No. This isn’t a post about ISPs.
This is a post about setting up a Pi-Hole on one of the first ever released Raspberry Pis, the Raspberry Pi Model A Revision 2.0 from back in 2011, in 2024.
But… Why?
Like many of my fellow technophiles, I have a lot of ‘junk’ electronics laying around – filling boxes, drawers, cabinets, shelfs and even whole closets…
“Why not just through them out” -my wife, constantly.
“I might need them one day” -me, constantly.
So… Here I am… In need of a DNS server and in the possession of many pieces of aging technology without an assigned purpose.
Enter the 13yr old Raspberry Pi.
Having not touched a Raspberry Pi in quite some time, I figured I’d do a bit of Googling to figure out the path of least resistance for getting this Pi back into the land of the living. After a couple of clicks, I find that there’s now an official Raspberry Pi Imager, so that seems a good place to start.
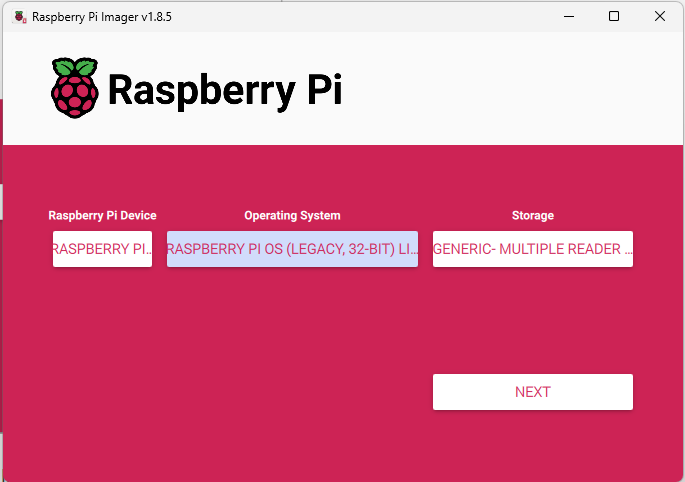
For my purposes, since I’m going to just be installing Pi-Hole, I want a minimalistic OS as my base. Since this Raspberry Pi is so old, I’m limited on what OSes I can easily install via the Imager – so I’m opting for ‘Raspberry Pi OS Legacy 32-bit Lite’, as I don’t require the full desktop experience and figure those system resources could better be utilized powering the Pi-Hole.
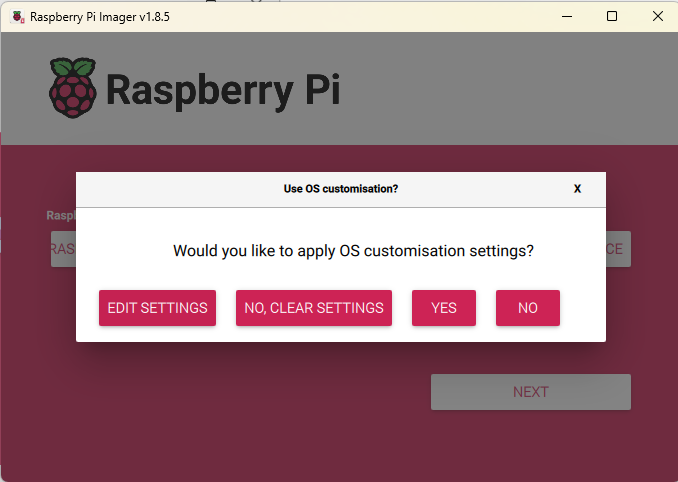
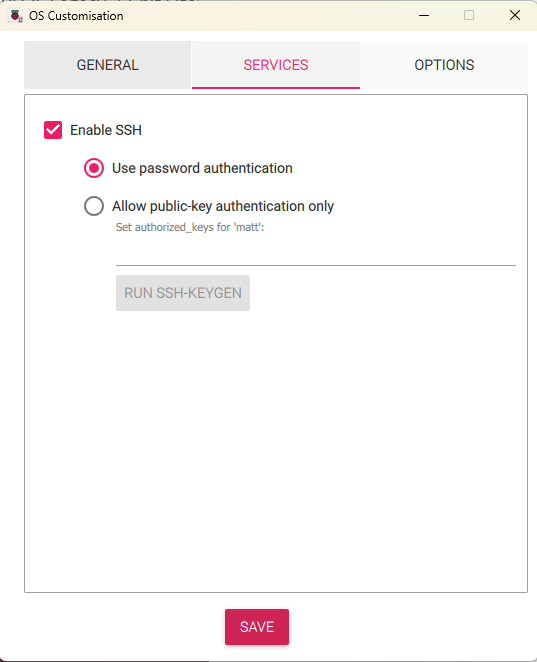
When going through the imaging process, I was greeted by some prompts that made me happy I’d opted to go with the official Raspberry Pi Imager – the ability to adjust some setting for my OS during the flashing process, so that I don’t have to manually connect to my Raspberry Pi in order to get things like SSH going:
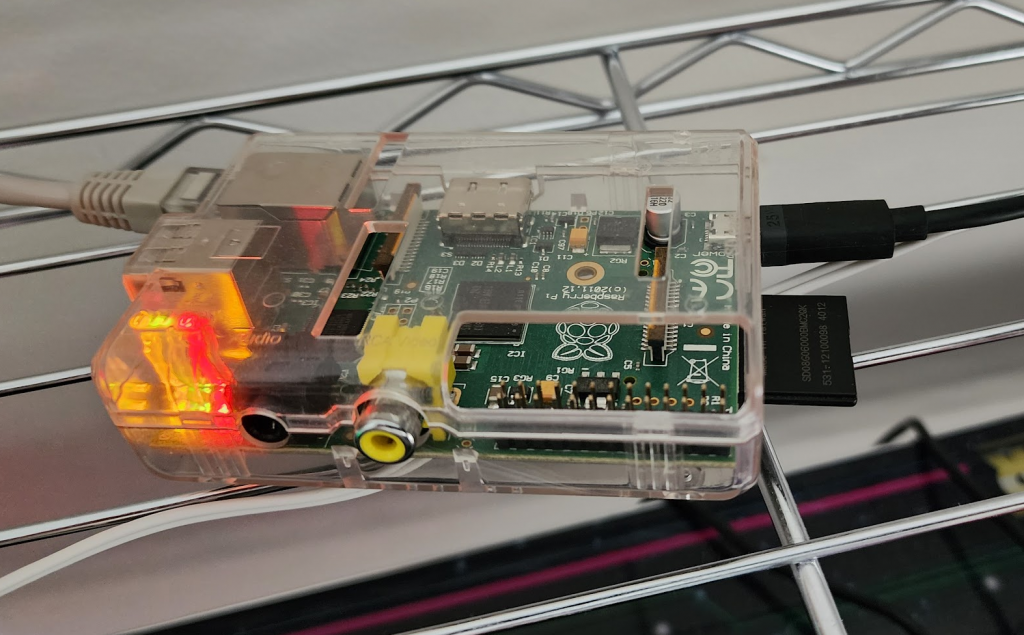
Once the flash completed, I inserted my newly imaged SD card into the fatty SD slot on my Raspberry Pi and connected it via ETH to my Orbi base station, and powered it up to see if it would come online… I mean.. This thing is basically an antique – and, as such, likely hasn’t even had electricity racing through its circuits in nearly a decade…
Based on the lovely glow, it either has power….or it has caught fire:
Let’s see if we can SSH in:
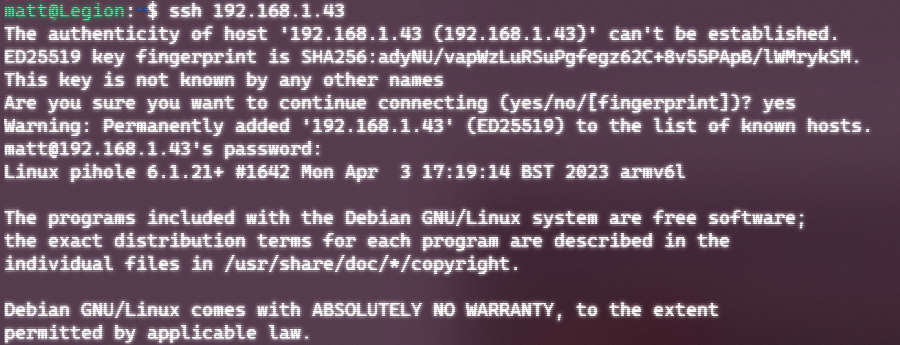
Saaaaa-weet.
This isn’t a tutorial, and is instead intended to be more of a show and tell – so I will spare you the play by play on setting things up, as there are a number of excellent tutorials that already exist for this purpose. But rest assured, I followed one or two of them, fumbled along with the setup (not really tho – the Pi-Hole installer UI holds your hands and makes it pretty easy).
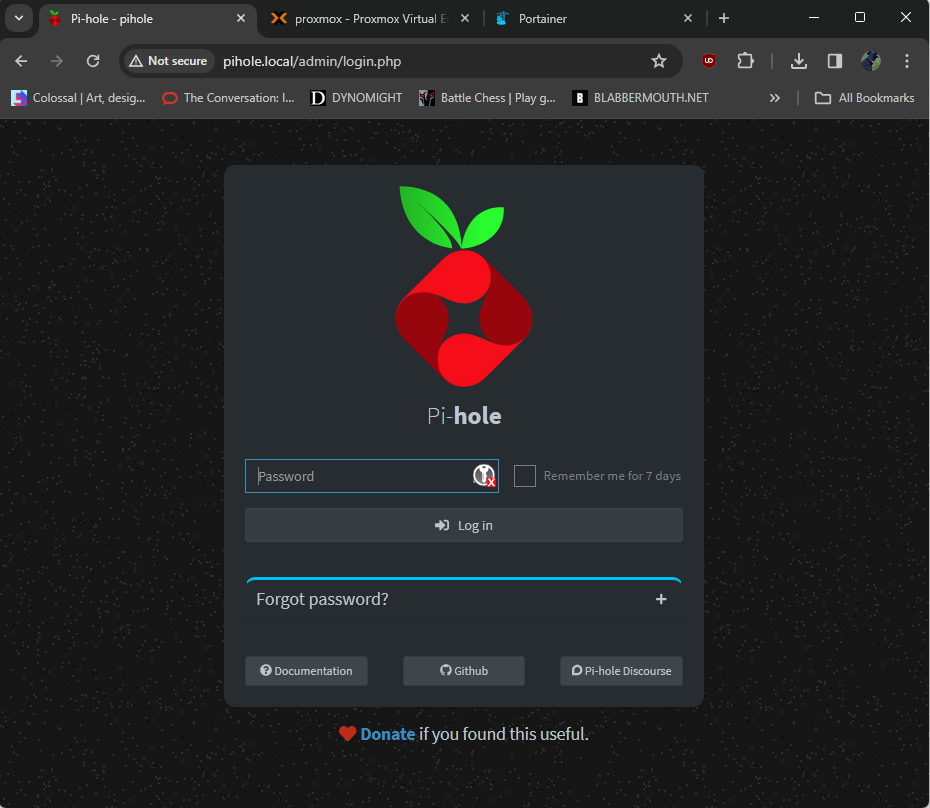
After the Pi-hole install completed, I then ensured I had it a static IP assigned in my router (should have arguably done this from the start, but…well…yeah…) before configuring my router to use that IP (the Pi-Hole’s IP) as my primary DNS server…
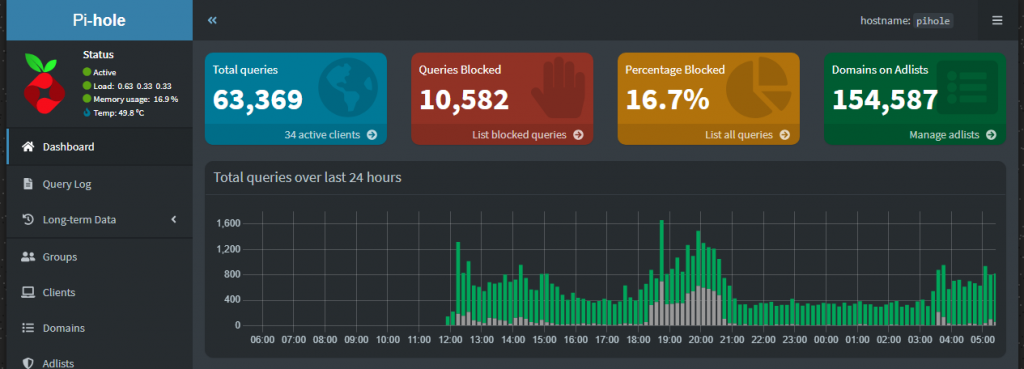
BOOM!
Old dogs can be taught new tricks, it would seem.
I’ll admit – I somewhat entered into this experiment figuring that I’d have to redo it all over again on a newer device than the Raspberry Pi Model A Revision 2.0 from back in 2011, but this thing is proving to be sufficiently snappy thus far.
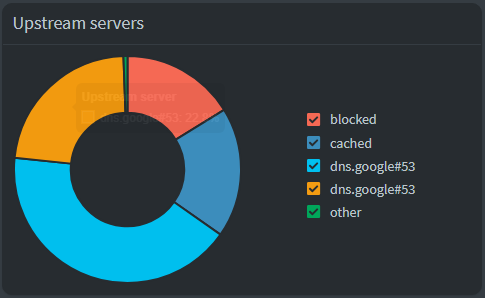
I have things basically configured as the default right now – leveraging both traffic filtering, logging and local DNS… I’ll run things as they are for a bit and tweak according to my needs. This said, I’m happy to report that after putting things through its paces for a normal evening, everything appears to be working as expected – streaming services and other connected services are working as expected out the box, with ads being blocked left and right!
Anywhos! Thanks for checking in!
-Matt