Up next in the Funemployment series, I’m taking a look at Standalone Components – specifically, Standalone Components in Angular 15.
Since I follow the official Angular Twitter account, I recently saw a link to this tutorial shared and so I figured it would be a good place to start: https://codelabs.developers.google.com/angular-standalone-components

One of the first things one might notice is that the tutorial targets Angular 14 – but since I’m really wanting to get a jump on Angular 15, I figured I’d forge ahead and try to tackle whatever issues may arise as they arise.

Since the tutorial largely just works in Angular 15, I’m not going to reproduce it step-by-step here – instead, I’m just going to highlight some of the issues I encountered when following along verbatim.
tl;dr:
1) environments/environment is no longer generated by default: https://github.com/angular/angular-cli/commit/283b564d1de985f0af8c2fcb6192801a90baacda
2) ngOnInit and default constructor no longer generated by default: https://github.com/angular/angular-cli/commit/301b5669a724261d53444d5172334966903078c0
So, yeah… The tutorial mostly just translates to Angular 15, and most experienced Angular developers will be able to quickly workaround any issues that may arise from working through this Angular 14 tutorial in Angular 15… But if you’re curious about my journey, please feel free to continue on…
Hiccup #1 – in the ‘Create a new application’ section of the tutorial, we’re shown how to strip down our application in order to remove the ngModule (basically a cornerstone of ‘standalone components’) – and as part of those instructions, we’re shown how to enable production mode by leveraging the long familiar ./environments/environment.ts file… Okay… But I’m getting an error indicating this long standing file isn’t present in my project… odd… that fella is always hanging out there…

Since I can’t ever seem to just do what I set out to do, I must now satisfy my curiosity concerning why this file, which was previously generated as part of the new project, no longer exists… After a bit of poking around in the Angular CLI github repo, I see the following: https://github.com/angular/angular-cli/commit/283b564d1de985f0af8c2fcb6192801a90baacda
feat(@schematics/angular): remove environment files in new applications

This commit removes the usage of environment files and `fileReplacements` in new application projects. Previously, the environment files was used to distinguish between a prod build to invoke `enableProdMode`. The `enableProdMode` however needed only for the case of JIT mode in production mode, which is a rare case as JIT mode is recommanded to be used in production.

In the CLI, calling `enableProdMode` is not needed as `ngDevMode` it's set using the minifier.
Whelp… That settles that… Moving on…
Since we no longer have this environment.ts file out of the box with new apps, it seems logical to assume we can skip some steps – basically, we just need to ensure we bootstrap our now-standalone AppComponent.

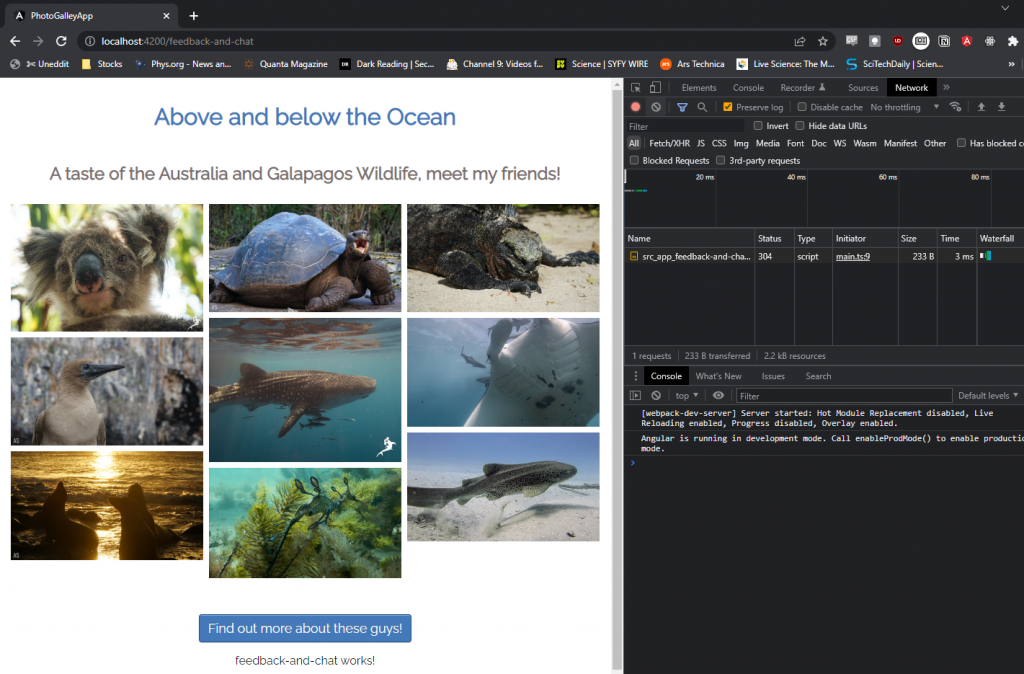
Skipping ahead to the next section, “Display the photos”, things seem straight forward enough… It’s worth noting that there seems to be a bit of a typo in the HTML, as the closing ‘article’ tag isn’t properly formed – no worries, as we just need to add an ‘>’ to make it valid.

Upon saving and running our updated project, we will see that while things are technically working, they aren’t working great because we’re missing some assets – namely, the images…

This makes sense, as image assets aren’t going to be generated by ‘ng new’ and are merely artifacts for this demo project… For simplicity, I’m just going to download these assets from the github project for this demo app: https://github.com/angular/codelabs/tree/standalone-components/src/assets

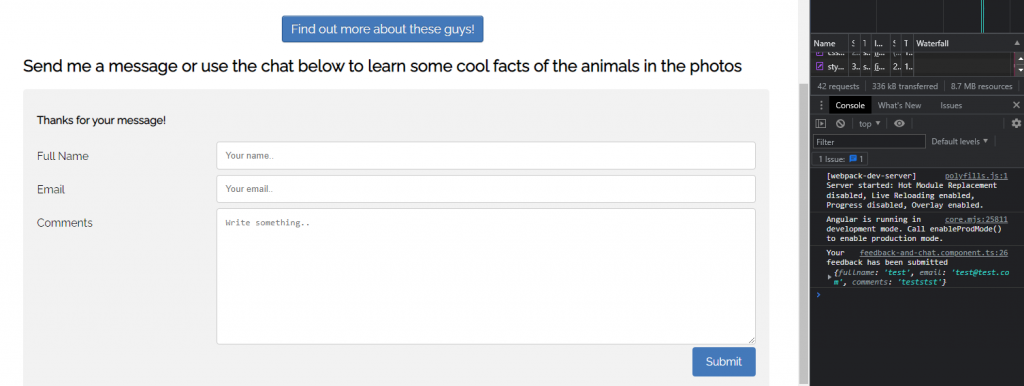
Continuing on to ‘Add a new standalone component’, everything in the original tutorial translates perfectly to Angular 15 and we can see our lazy loaded component as expected when we click the ‘Find out more about these guys!’ button as instructed:

Another small note to make… Once you get to the ‘Add event handling to the form‘ section, step 4 of the ‘Add the send message form model to the component’ subsection instructs us to remove the default constructor:

Whelp… We don’t have a constructor in our newly created Angular 15 standalone component… Not particularly important, as it was empty and not really doing anything – but why doesn’t it exist?! MY ADHD WILL NOT ALLOW ME TO CONTINUE ON WITH WHAT I SET OUT TO DO UNTIL I KNOW… After a bit more poking around the Angular CLI repo, I see the following indicating that ngOnInit and the default constructor have been removed in Angular 15, as apparently users of these features generally prefer to simply add them manually: https://github.com/angular/angular-cli/commit/301b5669a724261d53444d5172334966903078c0
Moving on…

The next section, ‘Add a chat dialog’, just works. Unrelated note: I really liked this section… Having never played with a virtual agent / chat system, I learned something new, which is always fun! And that’s pretty much it – standalone components in Angular 15…

At this point, I’m going to stick a fork in this write up and consider it done. The remainder of the Angular Standalone Component tutorial details deploying the project to Google App Engine with Express.js – which I feel is a bit out of scope for this write up, which was to detail the hang ups I encountered working through this Angular 14 tutorial in Angular 15 (which were very minimal – YAY!).
Happy coding!
-Matt


